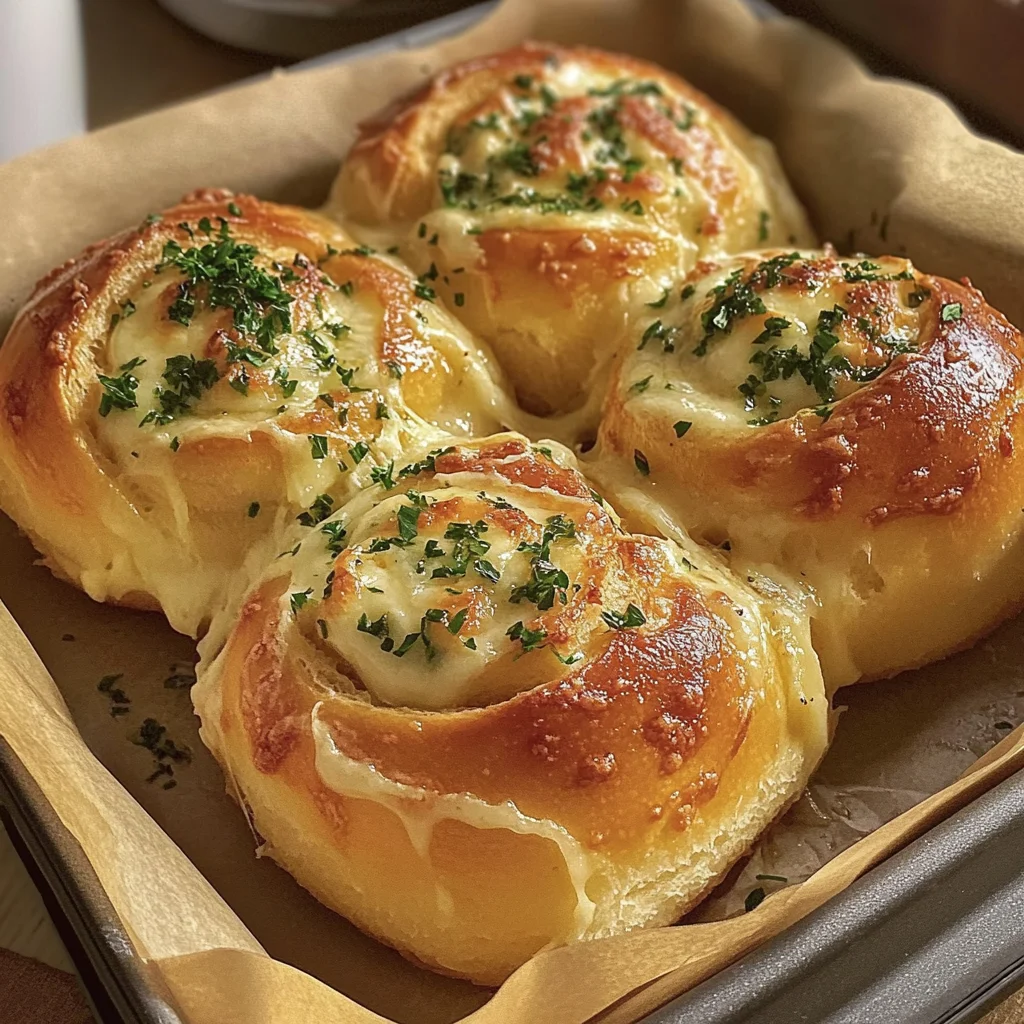
Buttery cheese Garlic Rolls, everyone will love them!
Buttery cheese Garlic Rolls, everyone will love them! These rolls are not just a side dish; they are a delightful addition to any meal! Perfect for gatherings, family dinners, or even a cozy night in, these rolls have an irresistible combination of garlic and cheese that will have everyone coming back for more. Their soft texture and rich flavors make them a standout choice for any occasion.
Why You’ll Love This Recipe
- Incredibly Fluffy: The dough rises perfectly, creating soft and airy rolls that melt in your mouth.
- Flavor Explosion: Infused with roasted garlic and melted mozzarella, each bite is packed with deliciousness.
- Easy to Prepare: With simple ingredients and clear instructions, you can whip these up even if you’re a beginner in the kitchen.
- Versatile Serving Option: Great as an appetizer, side dish, or snack at parties and gatherings.
- Customizable: Feel free to add herbs or different cheeses for a unique twist!
Tools and Preparation
To create these buttery cheese garlic rolls, you’ll need some essential tools to make the process smoother and more efficient.
Essential Tools and Equipment
- Mixing bowl
- Dough hook attachment (if using a stand mixer)
- Ramekin
- Baking sheet
- Aluminum foil
Importance of Each Tool
- Mixing bowl: Essential for mixing ingredients thoroughly to create the dough.
- Dough hook attachment: Saves time and effort while kneading the dough to achieve the right consistency.
- Ramekin: Perfect for roasting garlic evenly and keeping it contained.
- Baking sheet: Provides a sturdy base for baking your rolls to perfection.
Ingredients
For the Garlic Butter
- 1 garlic head
- Sprinkle of salt
- 3 tbsp olive oil
- 50 grams (1/4 cup) butter
- 1 tablespoon fresh parsley
For the Dough
- 90 grams (1/3 cup) warm milk
- 7 grams (2 1/4 tsp) active dry yeast
- 1 tbsp honey
- 200 grams (1 1/2 cups) all purpose flour
- 50 grams (1/2 cup) bread flour
- 20 grams (3 tbsp) milk powder (optional)
- 25 grams (2 tbsp) butter
- 2 egg yolks
- 1 1/2 teaspoon salt
- 1 tablespoon sugar
For the Filling
- 200 grams (2 cups) mozzarella cheese
For Topping
- Garlic butter we made previously
- 1 egg
How to Make Buttery cheese Garlic Rolls, everyone will love them!
Step 1: Roast the Garlic
Begin by placing one whole garlic head in a ramekin. Cut off the top of the garlic head, drizzle it with olive oil, sprinkle with salt, cover with aluminum foil, and roast at 160°C (320°F) for 2 hours until it’s buttery soft.
Step 2: Prepare the Garlic Butter
Once the garlic is ready, mix it with softened butter, chopped parsley, and two tablespoons of the garlic oil from roasting. Set aside this flavorful mixture.
Step 3: Create the Yeast Mixture
In a bowl, combine warm milk with active dry yeast and honey. Let this mixture proof for about 10 minutes until it becomes frothy.
Step 4: Make the Dough
In a large mixing bowl, combine all-purpose flour, bread flour, sugar, milk powder (if using), softened butter, salt, two egg yolks, and your yeast mixture.
Step 5: Knead the Dough
Using a dough hook attachment on medium speed, knead the dough for about 15-20 minutes until it becomes soft and smooth.
Step 6: Proof the Dough
Place your kneaded dough into a covered bowl and let it proof in a warm place (around 29°C or 85°F) for about 1 hour and 30 minutes or until it has doubled in size.
Step 7: Roll Out the Dough
After proofing, roll out the dough to about 1/4 cm (or 1/8 inch) thickness. Spread your prepared garlic butter evenly across its surface.
Step 8: Add Mozzarella Cheese
Sprinkle mozzarella cheese over the rolled-out dough then tightly roll it into a log shape.
Step 9: Cut the Dough
Cut your rolled dough into six equal portions using either a knife or dental floss for clean cuts.
Step 10: Second Proof
Place your cut rolls on a baking sheet. Cover them lightly and allow them to proof again for another 30 minutes until they become puffy.
Step 11: Bake Your Rolls
Preheat your oven to 175°C (350°F). Brush your rolls with an egg wash before baking them for about 20-25 minutes. Check after 20 minutes to ensure they don’t over-bake.
Step 12: Decorate Before Serving
After baking, brush your rolls with any leftover garlic butter and sprinkle with chopped parsley before serving warm. Enjoy these buttery cheese garlic rolls as they are sure to impress everyone!
How to Serve Buttery cheese Garlic Rolls, everyone will love them!
These delicious rolls are a perfect addition to your meal. They pair well with various dishes and can be served in multiple ways to enhance your dining experience.
As an Appetizer
- Serve warm with a side of marinara sauce for dipping.
- Pair with a fresh garden salad for a light starter.
Alongside Soups
- Enjoy these rolls with creamy tomato soup for a comforting combination.
- Serve with hearty vegetable or chicken soup to complement the flavors.
At Family Gatherings
- Place on a large platter to share during potlucks or family dinners.
- Offer as part of a buffet spread, allowing guests to enjoy at their leisure.
With Pasta Dishes
- Serve alongside spaghetti or fettuccine for an Italian-inspired meal.
- Pair with baked ziti or lasagna for added indulgence.
How to Perfect Buttery cheese Garlic Rolls, everyone will love them!
Perfecting your garlic rolls takes a few key steps. These tips will help you achieve the best results every time.
- Use Fresh Ingredients: Fresh garlic and high-quality mozzarella can elevate the flavor significantly.
- Knead Thoroughly: Proper kneading is crucial for developing gluten, which gives the rolls their soft texture.
- Monitor Proofing Time: Allow enough time for the dough to rise; under-proofed dough can lead to dense rolls.
- Brush Generously: Apply garlic butter generously after baking for an extra burst of flavor and shine.
Best Side Dishes for Buttery cheese Garlic Rolls, everyone will love them!
Pairing side dishes with your buttery cheese garlic rolls enhances your meal. Here are some great options:
- Garden Salad: A crisp mix of greens, cucumbers, and tomatoes dressed lightly in vinaigrette.
- Creamy Tomato Soup: A warm bowl of rich tomato soup that complements the cheesy rolls beautifully.
- Roasted Vegetables: Seasonal veggies like carrots and zucchini roasted until caramelized add color and nutrition.
- Chicken Alfredo: A rich pasta dish that balances the flavors of the rolls perfectly.
- Stuffed Peppers: Colorful bell peppers filled with rice and spices make a hearty side option.
- Caesar Salad: Crisp romaine lettuce topped with parmesan, croutons, and creamy dressing adds crunch and flavor.
Common Mistakes to Avoid
Making Buttery cheese Garlic Rolls can be a delightful experience, but avoiding common mistakes will help you achieve the best results.
- Bold Preparation: Not preparing your ingredients ahead of time can lead to confusion. Measure everything before you start to streamline your cooking process.
- Bold Yeast Proofing: Overlooking the proofing time for yeast is a frequent error. Always allow the yeast mixture to froth properly; this ensures that your rolls will rise well.
- Bold Dough Kneading: Neglecting to knead the dough enough can result in dense rolls. Aim for a smooth, elastic texture by kneading for the recommended time.
- Bold Oven Temperature: Baking at the wrong temperature can ruin your rolls. Always preheat your oven to ensure even baking and perfect texture.
- Bold Storing Improperly: Failing to store your rolls correctly can make them stale quickly. Use airtight containers or foil to keep them fresh longer.
Storage & Reheating Instructions
Refrigerator Storage
- Store Buttery cheese Garlic Rolls in an airtight container.
- They will stay fresh for up to 3 days in the refrigerator.
Freezing Buttery cheese Garlic Rolls, everyone will love them!
- Wrap each roll tightly in plastic wrap and then place them in a freezer-safe bag.
- They can be frozen for up to 3 months.
Reheating Buttery cheese Garlic Rolls, everyone will love them!
- Oven: Preheat the oven to 350°F (175°C). Bake for about 10-15 minutes until warmed through.
- Microwave: Place a roll on a microwave-safe plate and heat for 15-20 seconds or until warm.
- Stovetop: Heat a skillet over low heat and warm the rolls, turning occasionally until heated.
Frequently Asked Questions
Here are some common questions about making Buttery cheese Garlic Rolls that might help clarify any doubts.
Can I add other cheeses to my Buttery cheese Garlic Rolls?
You can customize your rolls by adding different cheeses like cheddar or parmesan alongside mozzarella for extra flavor.
What if my dough doesn’t rise properly?
If your dough fails to rise, check that your yeast is active. Make sure it’s within its expiration date and that you’ve provided it with warm milk at the proper temperature.
How can I make these rolls more garlicky?
To increase the garlic flavor, consider adding more roasted garlic to the butter mixture or incorporating garlic powder into the dough.
Are there any alternatives for all-purpose flour?
Yes! You can use whole wheat flour or gluten-free flour blends as substitutes for all-purpose flour in this recipe.
How long do Buttery cheese Garlic Rolls last after baking?
When stored properly in an airtight container, they will remain fresh for about 3 days at room temperature or up to 3 months if frozen.
Final Thoughts
Buttery cheese Garlic Rolls are not only delicious but also incredibly versatile. They make a fantastic appetizer or side dish for any meal. Feel free to customize them with different cheeses or herbs based on your preferences!
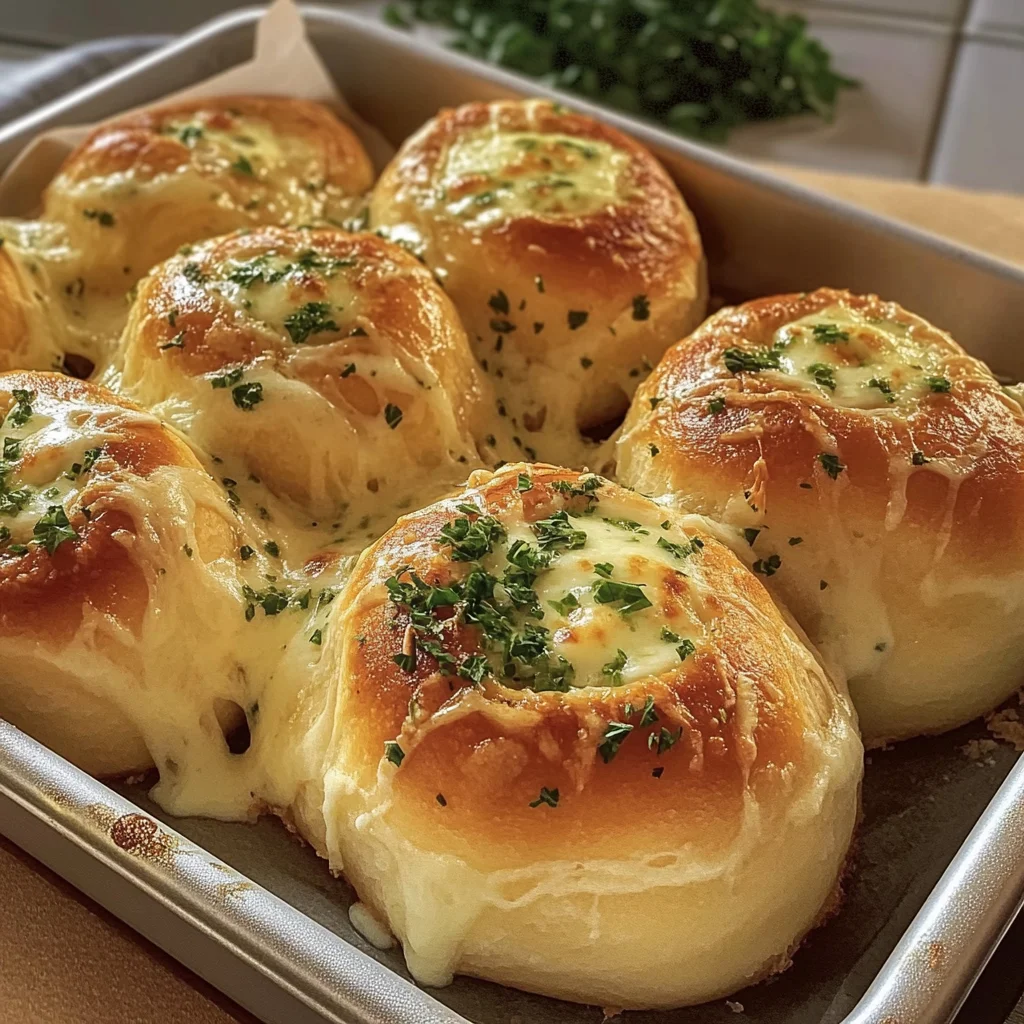
Buttery Cheese Garlic Rolls

Buttery Cheese Garlic Rolls are the ultimate crowd-pleaser, combining the rich flavors of roasted garlic and gooey mozzarella in every bite. Whether you’re hosting a family dinner, enjoying a cozy night in, or preparing for a festive gathering, these rolls are sure to impress everyone at the table. Their fluffy texture and delectable garlic butter topping make them irresistible. Plus, they’re easy to make with straightforward instructions, even for kitchen beginners! Serve them warm as an appetizer, alongside soups, or as a delightful addition to your favorite pasta dishes.
- Prep Time: 30 minutes
- Cook Time: 25 minutes
- Total Time: 55 minutes
- Yield: Makes about 12 rolls 1x
- Category: Appetizer
- Method: Baking
- Cuisine: American
Ingredients
- 1 garlic head
- 3 tbsp olive oil
- 50 grams butter
- 200 grams all-purpose flour
- 200 grams mozzarella cheese
- 2 egg yolks
- 7 grams active dry yeast
- 90 grams warm milk
- 1 tbsp honey
- 50 grams bread flour
- 20 grams milk powder (optional)
- 1 1/2 teaspoon salt
- 1 tablespoon sugar
- Sprinkle of salt
- 1 tablespoon fresh parsley
Instructions
- Roast the garlic by drizzling it with olive oil and wrapping it in foil. Bake at 160°C (320°F) for 2 hours until soft.
- Mix roasted garlic with softened butter, parsley, and some garlic oil to create garlic butter.
- Combine warm milk, active dry yeast, and honey; let it proof for 10 minutes.
- In a mixing bowl, combine flours, sugar, milk powder (if using), softened butter, salt, egg yolks, and the yeast mixture.
- Knead the dough until smooth and elastic for about 15-20 minutes.
- Let the dough rise in a warm place until doubled in size (about 1.5 hours).
- Roll out the dough and spread the garlic butter over it; sprinkle with mozzarella before rolling up tightly.
- Cut into portions and proof again for 30 minutes.
- Bake at 175°C (350°F) for about 20-25 minutes until golden brown.
Nutrition
- Serving Size: 1 roll
- Calories: 180
- Sugar: 1g
- Sodium: 290mg
- Fat: 8g
- Saturated Fat: 4g
- Unsaturated Fat: 3g
- Trans Fat: 0g
- Carbohydrates: 22g
- Fiber: 1g
- Protein: 6g
- Cholesterol: 40mg